Tuesday, February 4, 2014

In Living Color!


Just finished ...

Click on the above artwork to enlarge it.

... and titled In Living Color, this artwork on a 9"X12" canvas, was built up around a homemade stencil and matching masks --

For the homemade part, I used strips of clear packaging tape to laminate an ad showing a row of three young models; after burnishing the tape to make sure the stencil and masks would survive lots of use with acrylic paints and inks, I cut out the row of young women to create the mask.  The resulting borders around the models were way too thin to be used as the three separate stencils that I would need, so I created my own stencils using cardstock and tracing around the three figures in the 1-piece mask:

Above Top:  The 3-part mask, already darkened with multiple paint applications. Bottom:  One of the matching stencils that I made from cardstock.
I started by placing the 3-figure mask over a sheet of newsprint that had been previously sealed with assorted acrylic paints.  I secured the mask with masking tape.

I colored in the background with a layer of acrylic paint, using a sponge brayer.
Above:  Clicking on this image to enlarge it, you can see narrow strips of masking tape that I used to secure the 3-part mask to the substrate (pre-painted sheet of newsprint.)  These strips were eventually removed during the multiple background re-paintings done later in this multi-step process.  The next background painting was in dark blue, as seen below.  It was to be the first of several times that the background received a new coat of paint!
After lifting off the 3-part mask, I used an assortment of STENCILGIRL(TM) 6"X6" stencils, with a variety of acrylic paint colors, to create overlapping imagery across the entire surface of the paper.


This process continued for a long time, adding new stencils and colors, one by one, with dry-time between.  Using acrylic paints shortens drying time, as long as they are not "open" acrylics.

I repeated all of these steps numerous times, allowing dry-time between each, until I was satisfied that the three figures had the look I wanted, against a background that satisfied me.  This repetition included multiple re-paintings of background (so many that they are not all shown in this post.)  The original three-figure mask, and its matching three stencils, were used over and over.

Next I used matte gel medium with a Princeton paint spreader to adhere the paper to the canvas.  I made sure to apply hand pressure to the center of the paper, as I was pressing it to the canvas, and to then work outward from that center.  This allowed the paper to gently stretch with the moisture of the gel so as to avoid wrinkles.  As a further step in preventing wrinkles, I covered the paper with a sheet of resist paper and rolled over its surface firmly with a rubber brayer. 

(Because I was working on a pre-stretched canvas -- which has a "hollow" area in the back, within the wooden support frame -- it was also necessary to brace the bottom of the canvas with some paperback books, placed within the frame.  This gave the pressure of the rubber brayer a firm supporting surface, necessary for forming a good seal between the canvas and the sheet of paper being adhered to it.)

After the matte gel had an overnight wait to dry and cure, I went to the next step, of painting the rest of the canvas with Titan Buff.  Oh yes, I should have thought to do this first -- but I didn't.  So I just plowed ahead with doing it out-of-order, and that worked fine.  Fortunately!

Over the Titan Buff, I placed the 9"X12" stencil Tangled Tribal Hand Large by Lizzie Mayne.  I used a variety of acrylic paints with this beautiful stencil, masking off one section at a time with masking tape, so keep the colors separated.  I allowed drying time between each paint application.
Above:  close-up detail of the decorated hand area of this artwork.
The last stage of the process was to use a variety of other 9"X12" stencils, along with the same decorative hand stencil, to fill in the area along the bottom left two-thirds of the canvas.  Again allowing dry-time between applications, I used one stencil after another and one color after another.
Above:  close-up detail of the 3 figures in the final version of this artwork.


Above:  close-up detail of part of the bottom area of the artwork.
 
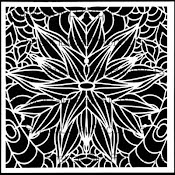
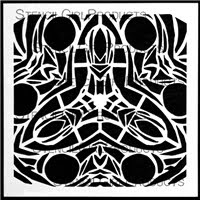
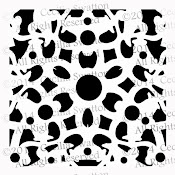
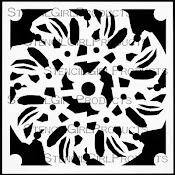
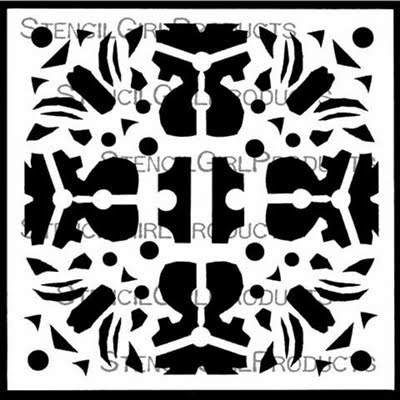
The 6"X6" stencils that I used:

Stitch a Doily by Maria McQuire

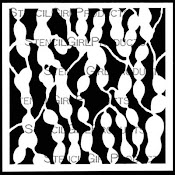
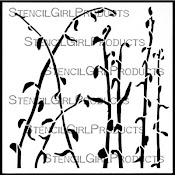
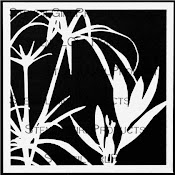
Seaweed and Mimosa 6 by myself (Cecilia Swatton)

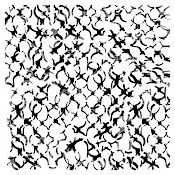
Fibonacci by Lizzie Mayne


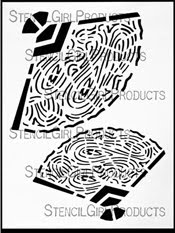
The 9"X12" stencils that I used:

Tangled Tribal Hand Large by Lizzie Mayne
 
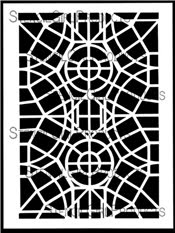
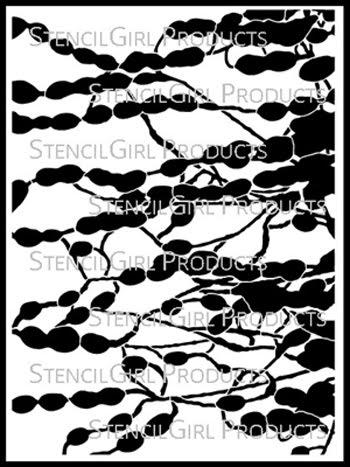
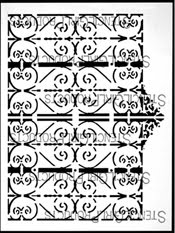
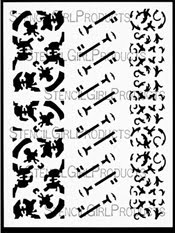
Wrought Iron Gate by myself (Cecilia Swatton)
 
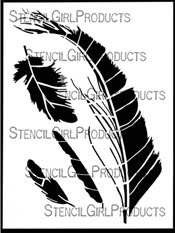
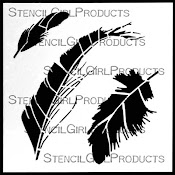
Feathers and Lattice by Daniella Woolf 
 
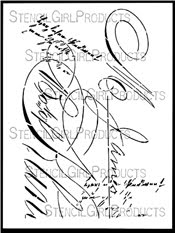
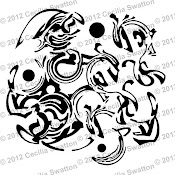
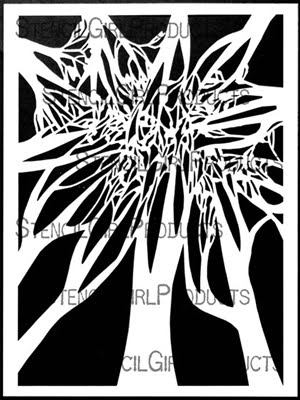
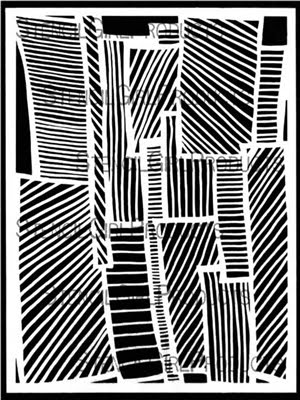
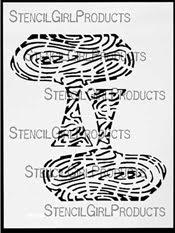
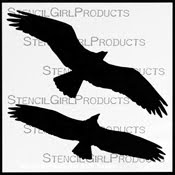
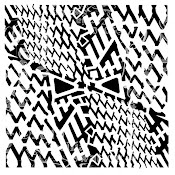
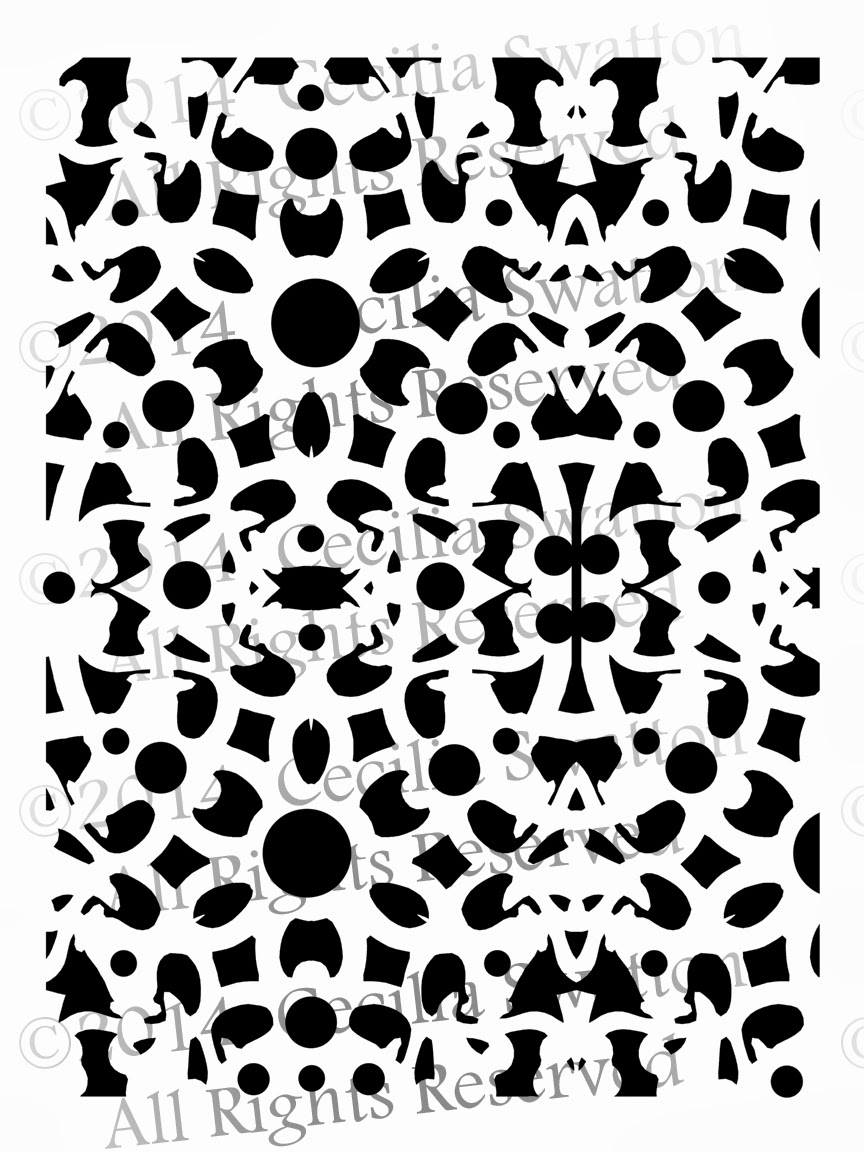
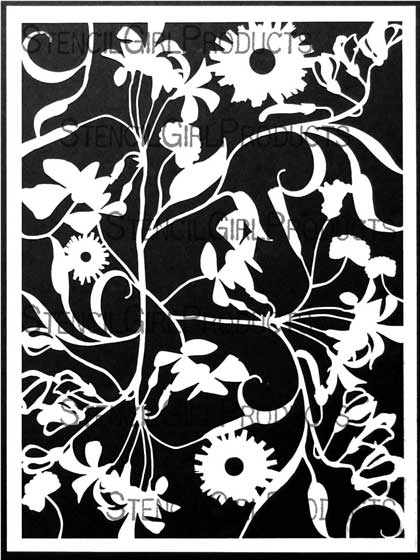
and a soon-to-be-released 9X12 stencil of mine entitled Twinship:
The above stencil will be available soon at www.STENCILGIRL(TM)Products.com.