Wednesday, September 28, 2016

Sherry Canino!


That name in my title says it all, really!

These tags, with their matching envelopes, are dazzling!  Actually my vocabulary isn't capable of stretching far enough to express my delight with the ways Sherry Canino has used my 6" x 6" stencil Ferns, so I had to settle for "dazzling!"


When touring the Finger Lakes area of upstate NY, you're welcome to visit Sherry's store, Canino's Artistic Café, at 106 Metropolitan Park Drive, Liverpool, NY, where Sherry offers workshops.  


Liverpool is a community on the north shore of Onondaga Lake, offering a range of one-of-a-kind shops and restaurants, as well as scenic lakeshore trails.
 

Tuesday, September 27, 2016
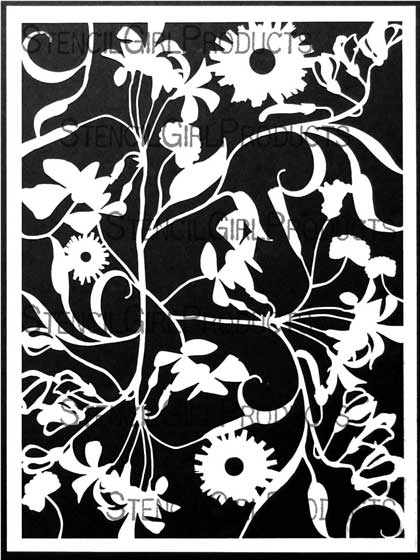
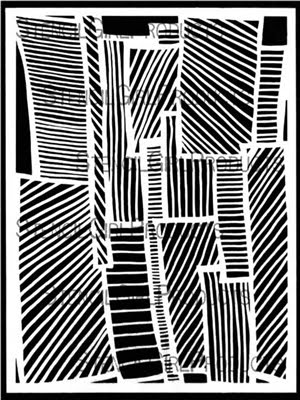
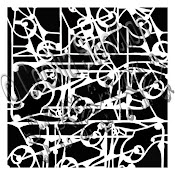
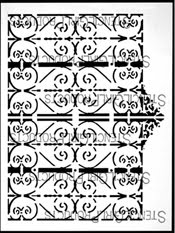
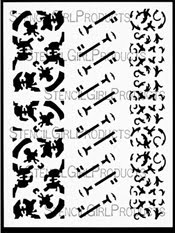
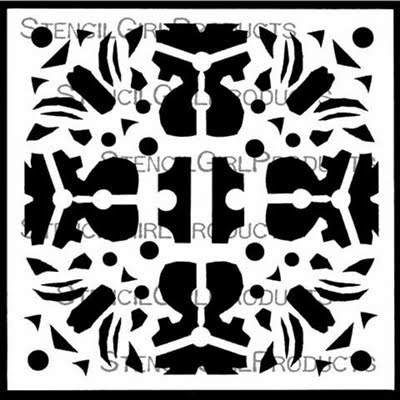
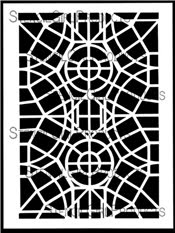
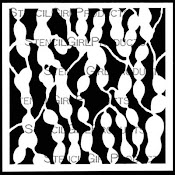
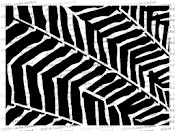
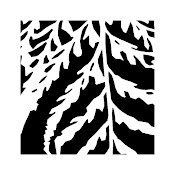
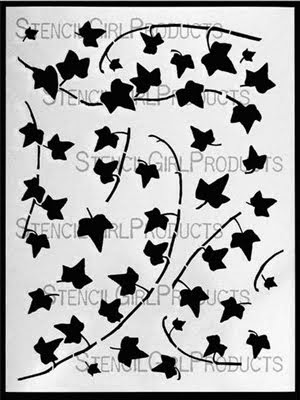
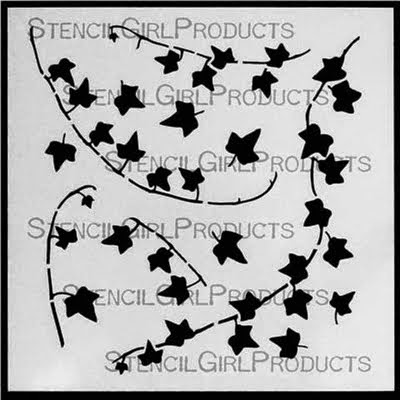
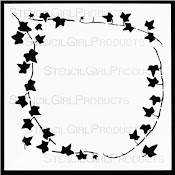
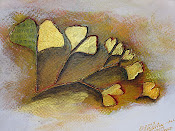
BOXED VINES Stencil


Artwork created with the help of my 9" x 12" stencil Boxed Vines:


Above:  a collaged greeting card cover, created with a Gelli Plate print from this stencil.  Note:  The purple vine at center stage is freehand-cut.  It complements the stencil design but is not made from the stencil itself. 

Above:  the envelope made to match this greeting card.  I've collaged the scrap onto the far left side to leave room for both the return address and the outgoing address.

Above:  a collaged greeting card cover.  The dark orange background was created with a Gelli Plate and this stencil Boxed Vines.  The green vine in the foreground was freehand-cut, in the same style as the stencil, but was not made from the stencil itself.
Above:  the ivory vines-and-border pattern was created with this stencil -- a Gelli Plate print.  The overlay of two white "ghost" vines was also printed on a Gelli Plate, using freehand-cut vines that resemble the stencil.
Above:  Today's final the Gelli Plate print, ready to be cut up for making art journal backgrounds, as shown earlier in this post.  The pale aqua part was created with the stencil Boxed Vines.  The two white vines, an over-print created with the same Gelli Plate, were made from freehand-cut vines, not from the stencil itself.


The stencil itself looks like this:


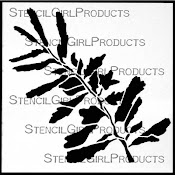
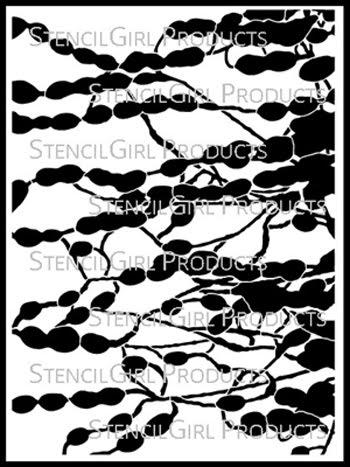
And back when I was designing it, I worked from freehand-cut vines with leaves like the ones shown throughout this post.

Thanks for visiting! 


Saturday, September 24, 2016

Asian Imagery with Stencils


Below:  

I used Golden's Payne's Gray acrylic paint mixed with matte medium in making these two fan imprints.  Both were created with my 9"X 12" stencil Two Fans.  The top fan was made directly onto color-stained  Asian newsprint, applying the paint thru the stencil.  The lower fan is a ghost print, made with the same stencil -- while the paint was still wet, I lifted it from the color-stained newsprint and placed it wet-side-down onto another sheet of Asian newsprint; then I cut it out to increase the contrast between the ghost print and a white background. 


Below:

 I used my 6"X 6" Bamboo Wall stencil twice, facing in different directions and placed side-by-side to create one overall pattern.  My background was a Gelli Plate print -- but before making my stencil imprints with the Bamboo Wall stencil, I had created another layer of color on the Gelli Plat print, by making a pale blue Art Bar crayon rubbing (with the help of another stencil of mine, placed under the paper.)  


I just want to add that, unlike oil pastel crayons, Art Bar crayons, being water-soluble, allow you to use acrylic paint over them. 

Wednesday, September 21, 2016

6" X 6" KALEID Stencil


The way I started one of my mixed-media pieces on stretched gallery-wrap (wraparound) canvas:


Above:  A close-up of my first step in starting a new canvas.  Using my 6"x6" Kaleid stencil, I scraped two types of gel media onto the canvas:  light modeling paste and black lava.

Above:  A view of the entire canvas just after Step One; clicking on the image will enlarge it and better show details.


Once the gel dried, the canvas was ready for me to add color.

All stencils used are available at www.StencilGirlProducts.com.  

Sunday, September 18, 2016

It's not Complicated!


StencilGirlProducts.com has garnered so many new members in StencilGirl StencilClub that from time to time, I want to post a "re-run" which originally appeared years ago.

Today is one of those days...

"Complicated paper" is a term coined by Anne Bagby, in her DVD
Collage: Paper, Patterns & Glazing, available here --
http://ccpvideos.com/products/ahb1d

However, this technique is anything but complicated--

Make the complicated paper collage as directed by Anne -- or, if you're like me, you already have a stash of "catch-all" papers that you have put to work in cleaning your just-used brushes of excess acrylic paint, before placing the brushes into water.  (This practice is best for the environment.  The less leftover acrylic paint that goes down the sink, the better.)  Here are two of my catch-all papers, ready to be used in this technique --


Whether you have complicated paper or catch-all paper, the first step is to place a stencil over it, securing both stencil and paper with masking tape.


The best type of stencil for today's technique is this kind of design:

Queen Anne's Lace
Boxed Vines
Heron (shown above)
Cats
Osprey Wings

I chose these because they make it easy to trace inside the cut-out areas.

To trace around the designs, I used watercolor pencil, because it can be easily removed afterward, if desired.  This matters when you choose to make your tracings on the top side (the "good" side) of your catch-all paper or complicated paper.  At times you will want to do the tracings on the good side, to make sure the stencil is positioned exactly where you want.  This is what I did with my 6"X6" stencil Heron tracing --


Above:  the heron has been cut out with fine-detail scissors and placed on the cover of a 6"X6" greeting card.

You have the alternate option of doing this tracing on the back side/plain side of the complicated paper or catch-all paper, if you want to make double-sure that no trace-lines will remain on the finished product.  This is what I did with my tracing of part of the 9"X12" stencil Queen Anne's Garden --


Above:  the back of the paper.

In tracing part of Queen Anne's Garden, I simply drew lines inside the narrow openings, rather than try to faithfully trace every fine detail.  The fine-detail work was easily achieved with scissors after the tracing was done.

When I finished cutting out the single flower, I decided to add leaves that I cut out free-hand.  I also added a few additional "rods" and "blooms" to create a greater contrast with the background I had chosen -- a pearly white 6"X6" blank greeting card, shown below.


In the collage above, what's shown is the front side of the paper where I had used red to trace the shape of one of the flowers in my stencil Queen Anne's Lace.

(If you would rather not freehand-cut leaves, you might enjoy using Striped Leaves Stencil by Terri Stegmiller.)

I enjoy making greeting cards, but these cut-outs can be used in all the paper arts -- from art journals to scrapbooks to book arts -- and if you are into fabric arts, they give you the option of creating beautiful appliques. 


Above:  the finished greeting card with the heron on the cover.

Thursday, September 15, 2016

Lisa Dobry -- Showing CLUSTERED LEAVES in Action!


I'm doing a happy dance as I post these photos of artwork -- all from the artist Lisa Dobry.  Lisa's delighted me by choosing to use my 9"x 12" stencil Clustered Leaves; and I'm so grateful!

Here's the first --


And now notice the jazzy tag Lisa has used here --


Correct me if I'm wrong, Lisa, but I think the following print could be called the "Before" version--


And I believe this stunner is the "After"--


 -- sporting yet another gorgeous tag as its embellishment!

I'll finish this post with a fifth piece from Lisa --


-- which makes beautiful use of additional (and oh-so-pretty) stencils from StencilGirlProducts.com designers Traci Bautista and Maria McGuire .  

And here in this final piece, the use of Clustered Leaves has resulted in a soft, subtle image fading gently into the background -- which, to my eye, really gives the purple areas powerful pizzaz!  

Many thanks, Lisa!

Monday, September 12, 2016

One more for Habitat for Humanity


When I belatedly learned that the minimal bid in the late October fundraiser for Habitat for Humanity is $200, I decided to create still another artwork -- on a larger canvas -- and designate it as a donation for that silent auction, rather than one of the smaller artworks shown in my last post.

Again, I used a lot of stencils from Stencil Girl --  L326, S269, L412 and L235.


The above photo appears small here, but you can better see detail by clicking on it to enlarge it.

I still have time to change my mind again, and make yet another abstract based on the Habitat for Humanity floor-plan -- something that I would never have the patience to do without help, but which becomes possible due to StencilGirl offering so many geometric stencils!

Friday, September 9, 2016

Fundraiser for Habitat for Humanity -- StencilGirl Stencils to the Rescue!


House Key is the title I chose for this artwork on gallery-wrap canvas, created with a number of geometric StencilGirl stencils -- L046, L326, S269, L407, S265, L235, L237 and L046 -- 


Click on this image to better see details.

With the same assortment of StencilGirl stencils, I created a "back-up" piece, also on gallery-wrap canvas, entitled Searching for Home --


Click on this image to better see details.

It's no coincidence that both pieces have a "home/house" themed-title.

The artwork was created in response to a special project underway at the Guild of Creative Art, Shrewsbury, NJ, where I have Exhibiting Membership.   Created by Guild Co-President David Levy, with the help of other Guild members, this project will culminate on October 29, the fifth anniversary of the devastation of Hurricane Sandy -- a storm that had tragically taken the lives of several people, as well as destroyed or severely damaged a staggering number of homes along the Northeast Atlantic shore.  The project, a work of cooperation between the Guild and Habitat for Humanity, will include an October 28 reception at the Guild, when donated artworks will be used in fundraising for Habitat for Humanity. 

Donated artworks will come from Guild members, having been invited to create art based on the floor-plan of new homes built by Habitat for Humanity.

Because I now work exclusively in abstracts, I created the above abstraction based on that floor-plan --


Yes, it's quite a stretch of imagination to go from this floor-plan to the painting at the top of this post!  But that's abstraction!

Tuesday, September 6, 2016

VINTAGE SCRIPT in the Skilled Fingers of Marjie Kemper!


What drew me in, first and foremost, to this artwork by Marjie Kemper, was the background -- it was love at first glimpse!

Then I took a second look at her photo, and with a happy jolt of surprise, I saw that here she is showing artwork-in-progress that will incorporate use of my 9"x 12" stencil Vintage Script


And I was delighted to see the finished project, shown below:


The stencil itself looks like this:


You can view more of Marji Kemper's artwork here:

https://marjiekemper.com


Saturday, September 3, 2016

Lisa Dobry Brings a Smile to My Face ...


I could barely believe my eyes when I saw a recent artwork of hers, created with multiple layers of Gelli Plate prints.  Lisa, bless her heart, used four of my stencils in creating this one piece ... and topped it off with a series of dots that not only unite her composition, but also bring to mind the symbolic art of Australian Aborigines.  (This latter point was first made by Jakki Keens Garlands, another member of StencilGirl Stencil Club.)


Lisa says that she had bought my 9" x 12" stencil Tangled Pods (used on the far left) and Heron (6"x 6") at the same time, knowing she would be using them with each other.  I'm both delighted and humbled when when artists like Lisa bring together two seemingly dissimilar elements that I -- in my own tunnel-vision, limited viewpoint -- would never conceive of combining in one piece.  I wince at my own ineptitude whenever this happens, because I know better!  It's been part of my art-training that this pairing of seemingly dissimilar elements makes for unique, even stunning, artwork.  So here I stand, with my hat off to Lisa Dobry!

My other two stencils chosen by Lisa for this artwork are Clustered Leaves (9" x 12", used in forming the background above) and Vintage Script (9" x 12", used in the upper left corner above.)  

Vintage Script in its entirety looks like this:


My sincere thanks to you, Lisa Dobry, for letting me use your artwork in today's post.